
Video linked below:

Rented an engine hoist for Easter weekend – observing COVID19 safety practices of course.


Happy St. Patricks Day!
Making the best of COVID19 by self-isolating to my garage.
Cleaned up radiator repaired shroud and replaced overflow tube.


New overflow made from 5/16″ coper tube.

Ready to boil out and pressure test.

Dropped it off at King Radiator in Mississauga.

Pressure test showed core was rotten so King replaced core.
Finished radiator looks like new.

Good for the next 70 years!


Had my starter and generator rebuilt by Eric Newton at Newton’s Electric Inc. in Brampton, Ontario. Great service and quality work.

Eric was careful enough to save the original tags. Rebuilds look great.


Generator installed on engine.

Its been a while since my last post. Took some time away to renovate my home and relocate restoration to a new shop next door.
New shop in construction:


This work is from 2018.
Erik separates transmission from transfer case and disassembles.

Washed parts and inspected. Needs new input and output bearings. Ordered bearings, gaskets and seals from Willy’s Acres.

Washed and painted gearbox ready for reassembly.


We were all set to install the cylinder head. Ordered and received a new copper head gasket, new studs and nuts and all the correct adhesives. Cleaned and wire brushed cylinder head, oil filter bracket and engine lifting loops.


Painted ready for assembly.


Erik wire brushes block surface to make sure it clean.


Erik notices some thermal erosion around one of the valves.

Upon closer inspection noted that seat itself is pitted. This will cause a compression problem on cylinder number two.


After some debate decide to get valves and seats refurbished. Easier now that engine is apart and its one less thing to go wrong in the future. Located a rebuilder (Mississauga Engines) who can do the work but need to deliver block to his shop in Streetsville.
Erik made up a crate frame to support engine block.


Erik fits crate to block. Engine upside down.


Crate installed and engine wrapped ready for trip.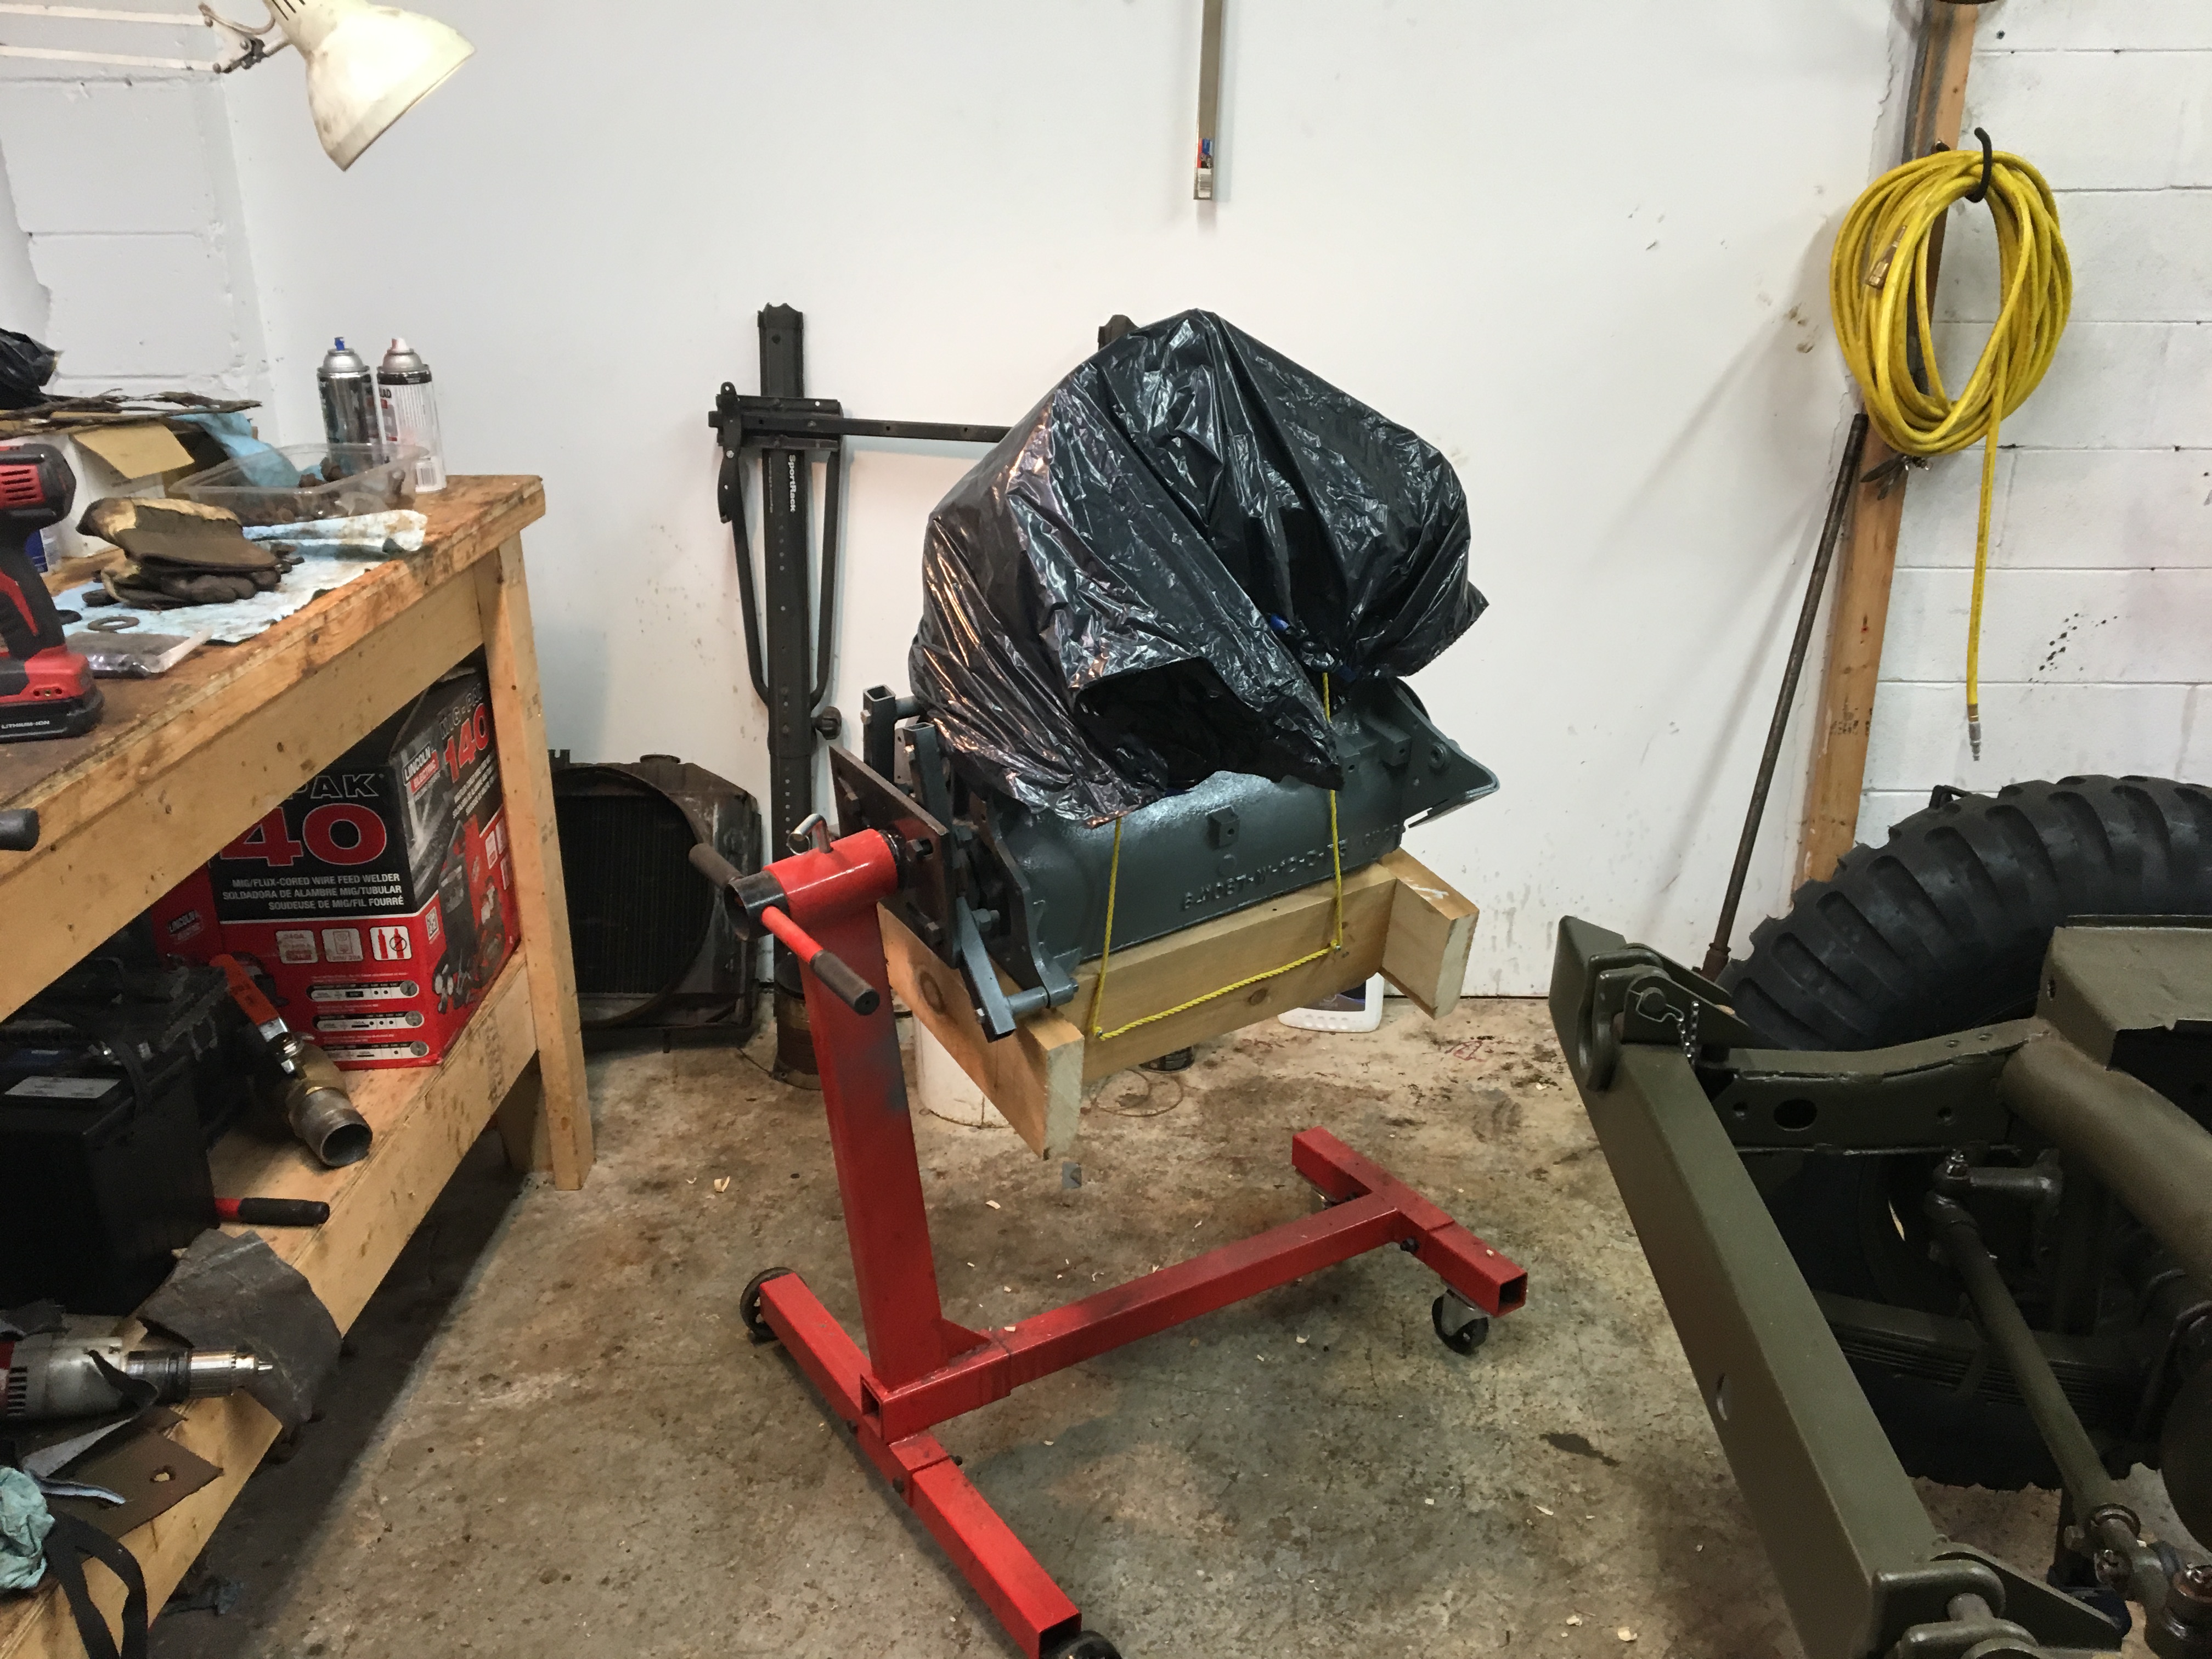
Block offloaded by Cesar DaSilva at Mississauga Engines.


Ordered a new water pump from Kaiser Willys. Erik installed the plug and bypass hose outlet, primed and painted it and installed on engine.


The engine was completely rebuilt in 1978 and very few miles were driven since so activities primarily consisted of removing accessories, cleaning up parts, replacing worn components and painting. We removed the oil pan, valve cover and timing gear covers. Crankcase was pristine. Similarly the timing gears were in perfect condition. So we cleaned up both the oil pan and timing cover, painted with primer and reinstalled.
Also removed the cylinder head. I wanted to clean it up and paint it but also just wanted to confirm the top end was OK. Easier to do now than after its back in the frame. There was some signs of a combustion chamber crossover leak between #2 and #3 cylinder so glad we had it apart. Cylinders, valves and valve seats all look good.

We adjusted the tapets on a couple of valves but outside of that the valves and the lifters were fine. Then cleaned up and replaced the valve cover too.
With head removed and the covers in place, Erik wire brushed the block.


Then primed and painted it.


Erik installs steering box on frame.

Inspected steering box, cleaned and painted before assembly. Also tested horn button shaft, steering tube and horn switch. All good to go.


Re&re drag link assembly. Bought a drag link repair kit from KaiserWillys but decided to reuse existing parts save the shields and covers.


Installed drag link on pitman arm and bell crank.


Had a little hick-up with the tie rod ends. I ordered left side (drivers) tie rod ends inner and outer for M38 from Kaiser Willys but didn’t take note of the size. Apparently there are two differnent sizes- 3/4″ and 11/16″. Kaiser Willys shipped me the 3/4″ whereas the M38 I have used 11/16″. I have read through the blogs at willysmjeeps and see this is a common issue. I contacted Mike at Kaiser Willys and he was kind enough to send me the correct tie rod ends.


Installed steering wheel temporarily to set up the toe-in.

The string around the centreline of the wheels is a really good check on the wheel alignment. If the string touches all sidewalls then you know your axles are parallel and aligned.
Next we set the toe-in. We clamped two straight edges on each of the front wheels at as close as possible to the centreline. Then we measured the distance between the two straight edges at the front and back of the wheel.

Toe-in specification per manual TM-9 1812 is 3/32″ to 3/16″. We set to 1/8″ by turning the left tie rod tube using a pipe wrench and measuring the distance between the straight edges at front and back until the difference in the measurements was 1/8″.

Note that the string now shows the front wheels are toed-in. Tightened the clamps on the tie-rod tubes.
Steering complete.
Disassembled the bell crank to determine condition. When I attempted to clean out the grease and assess the condition the needle bearings fell out. Decided to order a bell crank repair kit and replace needle bearings and seals. Ordered kit from Kaiser Willys.
Wire brushed and washed bell crank casting and painted.

Remove needle bearing retainers.

The bell crank replacement pin and sleeve from the repair kit were much shorter than the original and would not permit proper assembly. Originals on left – new parts on right.

Since pin and sleeve were in good condition, decided to use them and simply replace the bearings seals, washers and clamping bolt.
Installed bearings and lower seal in bell crank. Upper seal was in great condition and decided to leave it in place.


Lubricated with grease.

Assembled bell crank.


The original assembly has a bellows seal on top of the top grease seal – assumed to keep out moisture and debris. The bellows seal had deteriorated and requires replacement.


Ordered seal from Brent Mullins.


Before reassembling checked to make sure sleeve is pulling up tight to bell crank bracket. Wanted to make sure that sleeve is not rotating around the pin.

Reassembled bell crank with new bellows seal.
Installed original pin, sleeve, and castle nut with new flat washers, clamp bolt and nut and cotter pin.

Erik installed the centre tie rod end to the bell crank.

Installed lower dust cap.
Bell crank has nice smooth action with no slop.
